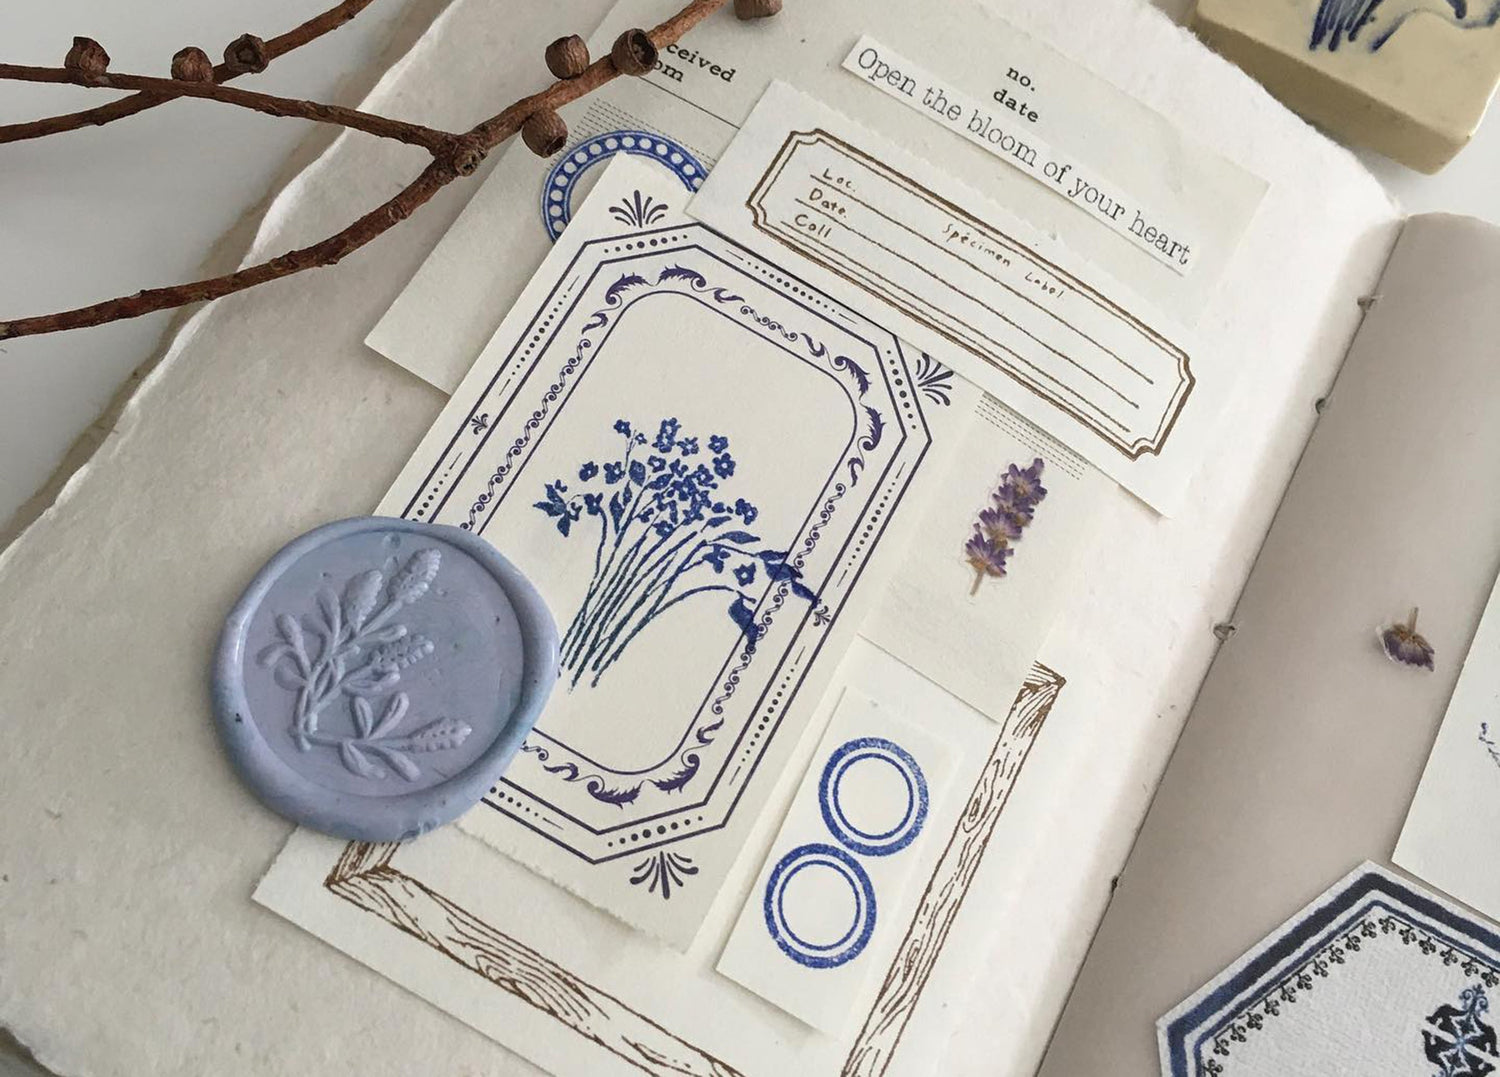
There's nothing quite like receiving a wax sealed envelope.
It’s a simple and classic way to add a personal touch to your next Christmas card, event invitation, or handwritten note.
For beginners, letter sealing can seem dauntingly intricate. But never fear! We’ve developed a step-by-step guide to walk you through the process and the tools you'll need including sealing wax, letter seals, and wax seal kit.
Wax Seals, Then and Now
The use of seals can be traced all the way back to ancient Mesopotamia and really, the earliest days of human civilisation.
However, these seals were a far cry from the wax seals we’ll cover today.
These early seals were used on clay tablets for the purposes of authentication and identification. However, the use of seals as a means of securing correspondence wouldn’t begin until the Middle Ages.
Originally used exclusively by those of the most upper circles of Medieval society such as monarchs, bishops and the noblest of the noble class, by the 13th century, wax seals had become far more widespread, used by monasteries, guilds, and commonfolk alike.
As is the case now, these seals often bore the initials of the sender, the logo of their associated organisation or family coat of arms and were used as a means of identifying the sender, as well as proving that the last person to seal that letter was in fact the person who wrote it.
Nowadays, wax seals are a nostalgic call-back to what often feels like, in an ever-increasingly digital world, a more romantic time.
Types of sealing wax
If I am to be a total nitpicker...
I have to point out that modern sealing wax isn’t in fact wax at all!
In the Middle-Ages, correspondence was sealed with a mixture of beeswax and many other ingredients that varied from the place and maker of the sealant. But these early sealants were far from perfect and would eventually, around the 16th century, be replaced by shellac-based sealing waxes.
These shellac-based sealing waxes, whilst excellent at sealing correspondence, are very hard and brittle.
But that was the point!
This acts as a pretty neat little in-built security feature. If someone were to attempt to open a shellac wax sealed envelope, it was near impossible not to shatter the wax seal in the process, making it very apparent that someone had been snooping.
Modern sealing wax is much more flexible.
Good to know: unlike many synthetic alternatives, all the sealing wax in our collection is made from natural resins and pigments!
If you’re planning to mail a wax-sealed envelope, modern wax is the one to use, as the brittle traditional wax risks breaking and causing a real headache for the postal service’s sorting machines.
👉 That said, we still recommend placing any wax sealed envelopes into another padded envelope before posting.
Wax Colours and What They Mean
Once upon a time when wax seals were much more common, the different colours of wax used could often serve as a sort of message in and of themselves.
The most iconic wax seal colour of all is without a doubt red. Originally achieved by mixing the beeswax sealant with vermillion, an ancient pigment derived from the powdered mineral cinnabar, red wax seals are what spring to mind when most people think of what a wax seal looks like.
Traditionally, red seals were used for more formal correspondence. Often used for military, governmental or legal purposes, red wax seals would signal the importance of a letters contents long before one had broken the seal. Nowadays, as you maybe expect, red wax seals are by far the most popular choice for love letters and Valentine’s cards.
Blue and green wax seals were also very common back in the heyday of wax sealing. These colours were much more informal or casual in their use. Excellent for the occasional piece of correspondence between friends.
Black, however...
Well, black seals may not even need any explanation. If one were to receive an envelope closed with a black wax seal, it may be a good idea to take a seat—the contents of that letter were almost certainly bad news.

Nowadays, sealing wax comes in all sorts of colours, from matte traditional colours to metallic sparkling shades. Maybe you love bold colours like yellow or purple, or you're searching for a soft dove white for wedding invitations. Whatever the occasion, there's a sealing wax shade to match.
How to Use Sealing Wax
1. Heat up the wax
To get your sealing wax ready, our favourite method is to slowly heat up the wax stick over an open flame (a candle or a match is perfect for this). You can also use a wax heater, which produces a stable flame for a consistent finish.
You’ll want to heat the wax stick long enough to allow the melted wax to dripped onto the envelope but be careful not to heat it for too long.
If heated for too long, the wax will become a sloppy uncontrollable mess.
If this sounds vague, it’s because it is! Practice makes perfect, and this really is something best discovered through trial and error.
2. Drip the wax and stamp
But wait!
You’ve successfully dripped what you feel to be an appropriate amount of wax for the size of your seal.
Now wait 10 seconds.
Take your handled stamp and press straight down.
Hold the seal handle in place firmly for a moment to give the wax time to set—10 to 15 seconds—before carefully lifting the stamp off the now-hopefully-sealed envelope.
👉 These are just general recommendations. Experimenting with the timing will give you the best results!
4. Add a finishing touch
A metallic sealing cream, available in gold or silver, can be used to emphasise the wax seal.
Simply use your fingers to dab a small amount to the wax seal for the perfect finish. You can place the sealing cream over the entire seal or just some elements to add emphasis.

Here at Bookbinders Design we are very proud to carry a wide array of Bortoletti wax sealing items, from the wax sticks themselves, to stamps and wax burners.
Made from natural ingredients and materials using traditional techniques that have been perfected for centuries along with modern innovation, these are some of the best quality waxing tools available.
Browse Bookbinders Design’s range of luxury sealing wax products.
Questions? We’d love to hear from you, so don’t be shy! Contact us on Facebook, Instagram or via email at info@bookbindersdesign.com.au

